Aside from a bit of paint and closet shelving, Amy and I haven’t had to take on many home improvement projects with the cozy little 1950s Orlando Bungalow we bought 8 months ago. We love our home, our daughter’s new kindergarten and our neighborhood. A few recent incidents though highlighted the need for some video security cameras.
We have an original Dropcam (that served us well as a baby monitor) and a Ring doorbell that we’re happy with, but we needed a little more. To be specific, we wanted a secure camera system with a mobile app that would allow us to view live and recorded HD video from several key vantage points…without paying a monthly fee. Cloud recording for the Ring is only $30/yr and they offer unlimited camera recording for $100/yr. Other popular camera systems like Arlo and Canary have similar pricing models. The cameras are pricey though. For about $350—about the price of 2 Ring cameras and with no additional monthly cost—I decided instead to buy an Amcrest CCTV Video Security System with a 2TB hard drive and 4, 1080P cameras.

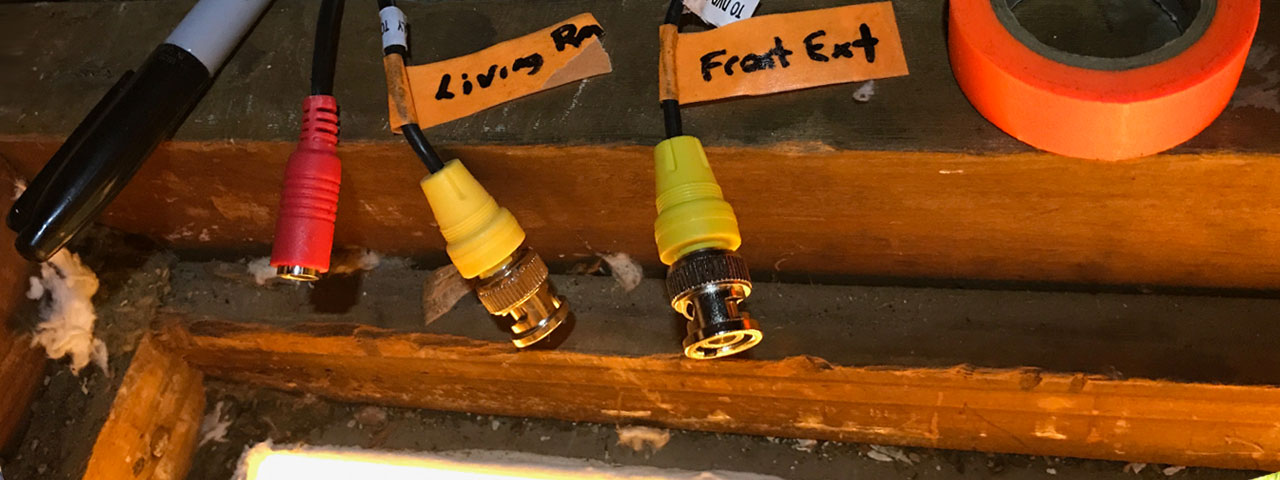
Installing the system took more time and effort than I originally estimated, but as usual with my home improvement projects, I had fun and learned a few new DIY tricks. Honestly, the hardest part of the project was figuring out how to run the wires through an extremely tight attic with over a foot of blown-in insulation. That wouldn’t have been possible without a good fish tape. What’s a fish tape? I didn’t know either until this project and it’s a tool that I now wish I’d had for some of my other past wiring projects.

A fish tape is simply a flexible wire or pole that can be used to route wires through walls, attics and conduit. There are several different styles of this oddly-named tool. I chose a set of somewhat rigid fiberglass rods that could be screwed together. I used them to push the camera wires through a hole in the ceiling, and from the edge of our roofline where the attic was too narrow to reach, up to a higher point in the attic that I could safely crawl out to.
Over a couple of morning work sessions (because nobody wants to be in an attic after noon in Central Florida) I was able to:
- Install a shelf to mount the Camera DVR unit in a closet
- Branch off an existing 120V line to install an outlet in the closet to power the DVR unit and cameras
- Run an ethernet cable from our cable modem – allowing me to move our wireless router to the closet, a more central location for it in our home
- Mount 3 of the 4 cameras and run their wires back to the DVR unit

The above image shows what the vantage points we have access to between our Ring camera and 3 hardwired security cameras. For the wired cameras, the Amcrest DVR will store over a month of continuously recorded HD footage. Ironically, I finished our security camera project the weekend before hurricane Irma arrived in Orlando. Even though we were in Atlanta during the storm, it gave us great peace of mind to see how our house fared through the lens of our Amcrest and Ring cameras.