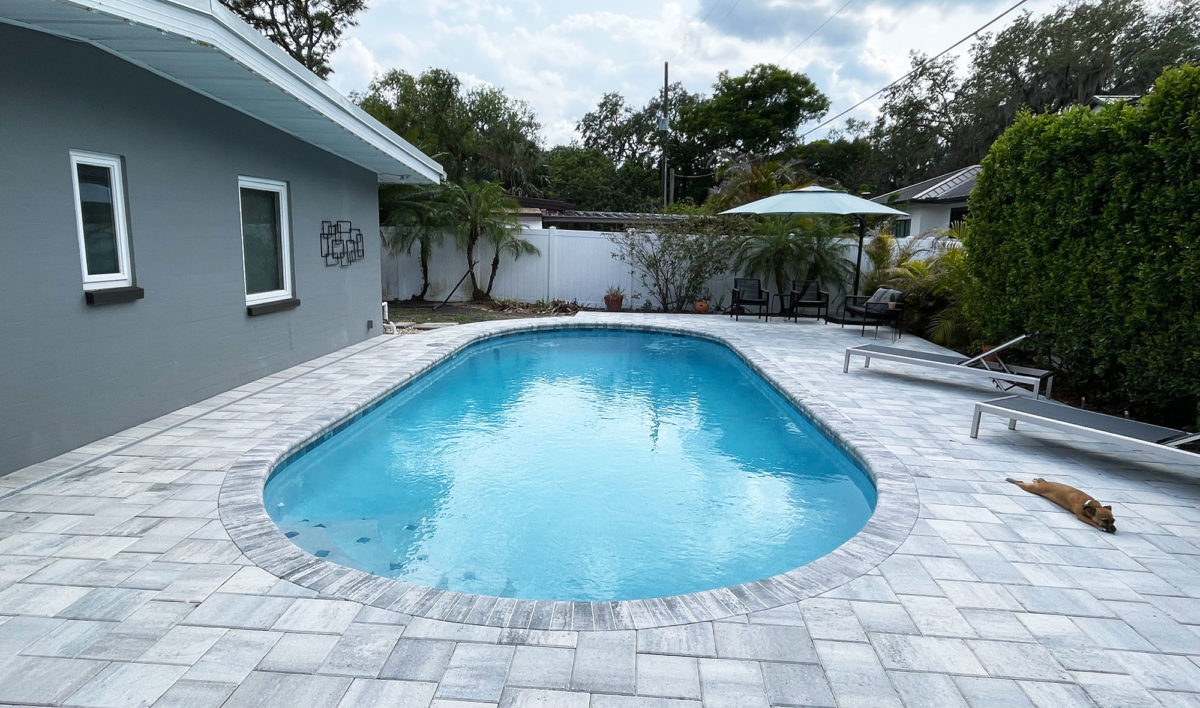
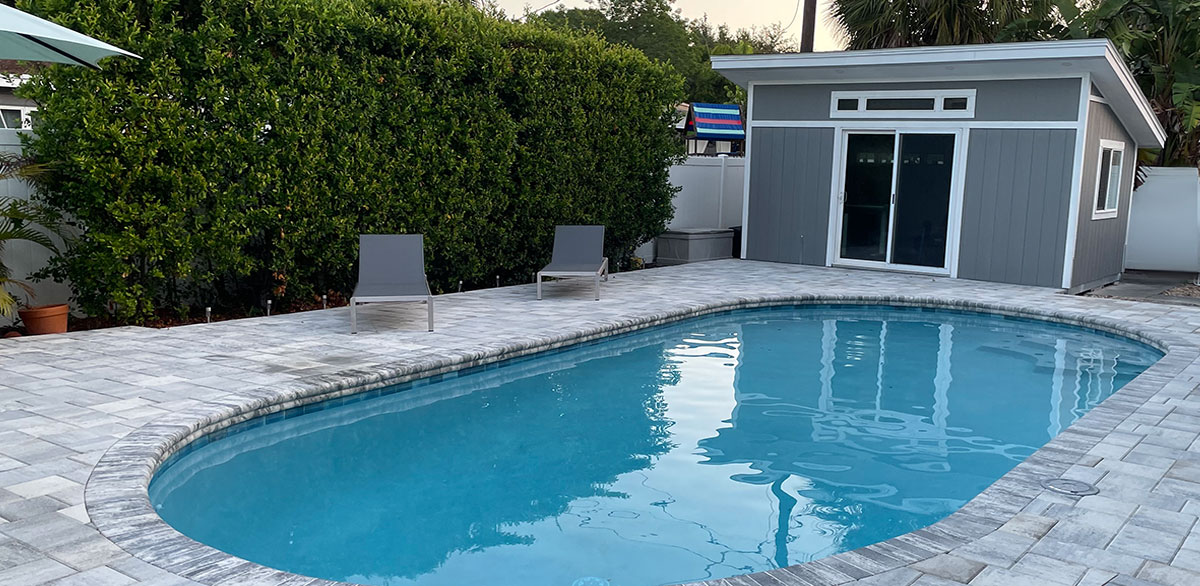
When we bought our mid-century Orlando home in the summer of 2018, the pool was one of the biggest selling points. Our kids were 6 and 4 at the time and we were spending many weekends looking for places to swim. Thanks to a pool inspection before closing, we knew in advance that we were committing to an inevitable renovation project.


The old gunite pool was refinished many years earlier with a fiberglass liner that was starting to deteriorate. We enjoyed the pool over the next few years, even as patches of fiberglass wore off, exposing the original concrete surface underneath. We could live with those visual blemishes, but eventually, swimming for more than an hour or so left us feeling itchy. It was time.
We also had some maintenance issues with the old cement deck we needed to deal with. There were major cracks around the pool shell, we wanted to fill in the 2 lava rock cutouts, and also wanted to finally connect the deck to our office shed. For those reasons, we decided to install pavers over the existing deck.
We started getting quotes last summer, hoping to get the pool and deck improvement done during the winter months. For a renovation that included pool finish, tiles, skimmer, and pavers the company we ended up choosing informed us it would be completed in four phases:
- Phase 1: Drain and demo out the inside of the pool, pour footer to connect the deck to the office, and install the new skimmer
- Phase 2: Install waterline tile
- Phase 3: Install pavers and deck drain
- Phase 4: Plaster, fill, and balance water

While the project was spread out over 15 weeks, each of the four phases were only 1-2 days long, so like I did with the shed build, I decided to record a time lapse with our backyard Wyze Cam. Here’s the entire pool renovation project (minus phase 2, because I forgot to record that day) in less than 3 minutes:

