Update: I saw a lot of people getting 404s when being referred by Authentic Boredom so I set up this page so you all could find it instead of a search for: archive-ind.php?id=95
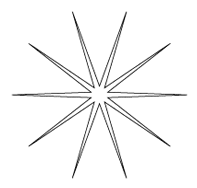
Couldn’t help working on this. Cameron Moll asked if there was an easy way to create a star that tapers in instead of out in Illustrator like the one on the right. Here’s an easy to follow 7 step tutorial. -Enjoy
- Create a Star with the Star Tool.
- Create a Circle with a diameter just smaller than the outer points of your star.
- Select both the circle and the star and Use the
 “Vertical Align Center”
 and “Horizontal Align Center” buttons in the align toolbar to…align them.
 - Use the
 “Intersect Shape Areas” button on the Pathfinder toolbar to cut off the points (and give you more than one point on the tips of your star.
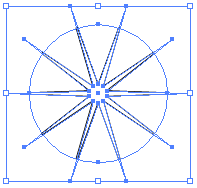
- Goto: Object->Expand Appearence
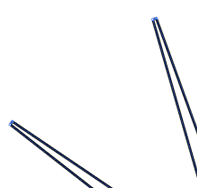
- Moving around the star, with the “Direct Selection Tool” (the white arrow) hold down shift and choose each clockwise-most point on the corner of each star tip.
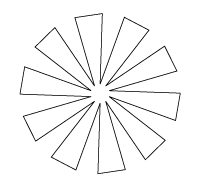
- Using the Rotate Tool, move those points more clockwise to create a star that tapers in. It’s fun, it’s different than all other prefab star shapes, and it looks like something from “That 70’s Show”. The rest of the gradients and style funnery are up to you once you have the shape.