As the holidays were approaching in December, I wanted to send a small token of gratitude to the product designers on my team at Sprout Social. My go-to holiday gift for teammates in the past has been a page-a-day desk calendar, but I decided to be a little more creative this year.
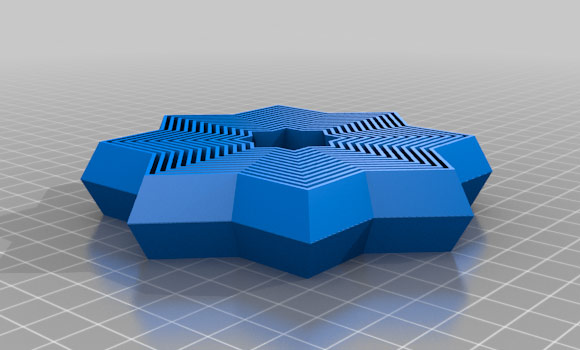
I’ve been doing a lot of 3D printing lately and started looking for inspiration on Thingiverse. I was thinking of making some kind of desk accessory when the popular Fractal Fidget Star caught my attention. It consists of a set of concentric, 8-pointed stars that are independent of one another, but stay locked together thanks to beveling at the top and bottom.
There are many variations of this design out there, and most of them are stars, but I could tell at first glance that just about any shape could work as the foundation. The logo for our company is a leaf that’s shaped like a chat bubble and seemed like a good candidate for a fidget desk toy.
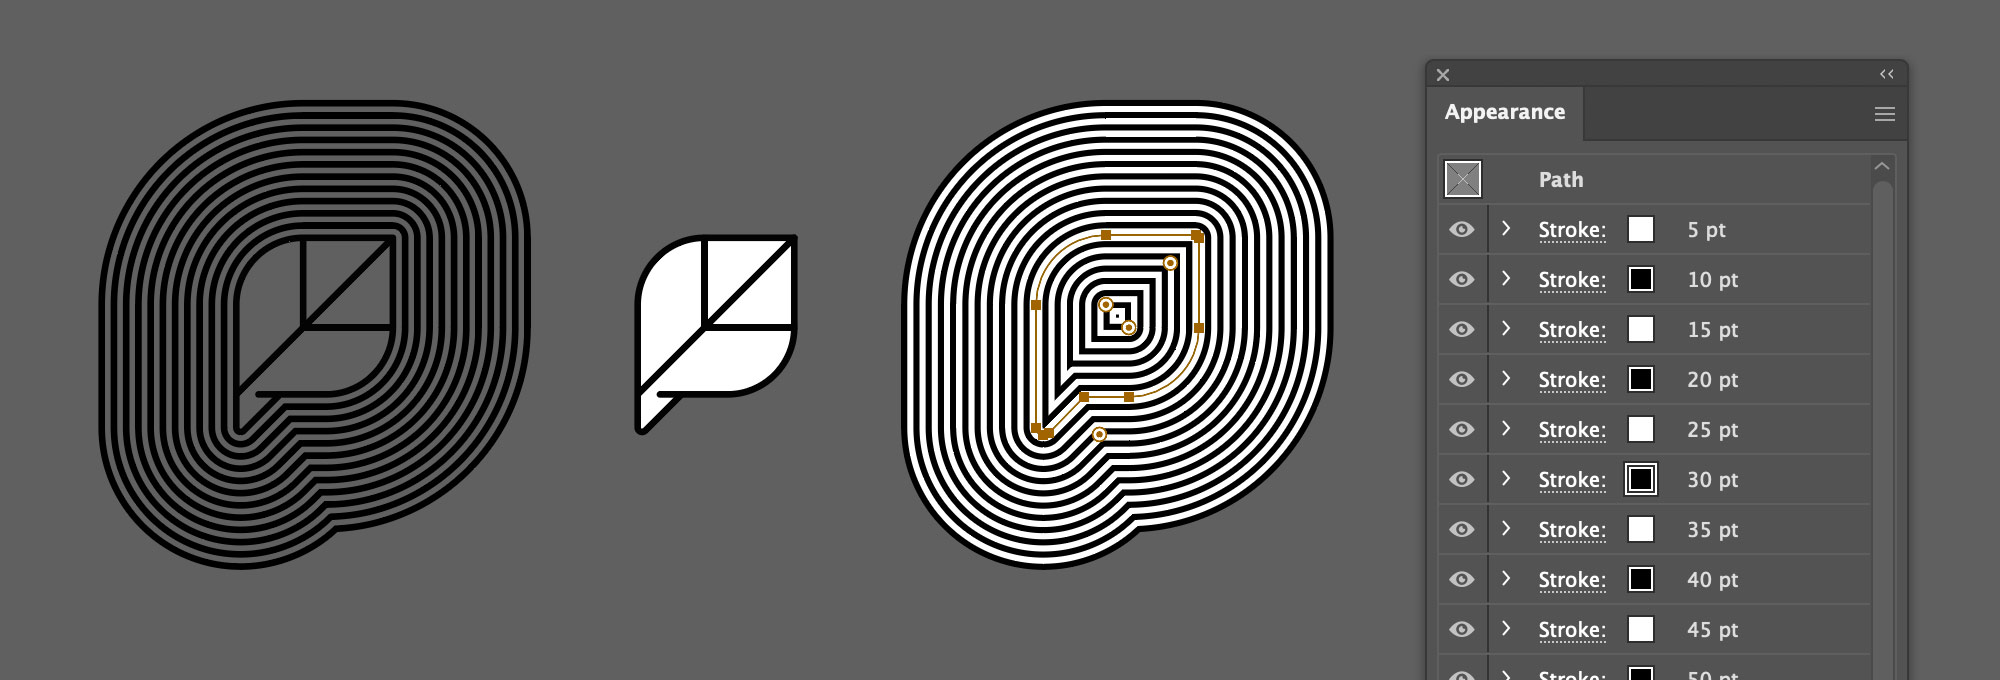
To get started, I opened the logo in Illustrator, gave it a white background, made a copy of the outer path, and started adding alternating white and black strokes in the appearance panel, with each increasing in size by 5pt. Once I had 11 outer black rings, I centered the logo on top, expanded all the strokes, merged everything with the pathfinder tool and deleted all the white shapes.
My plan from there was to import the SVG I created into Tinkercad, which is one of the simplest 3D modeling tools available. Unfortunately, the only thing I could do with the shape in there was extrude it up and change the overall dimensions. There was no way to create the beveling that was necessary to hold the individual pieces together. I had experimented enough with Blender before to know I could create just about anything in that tool but the learning curve is…steep.
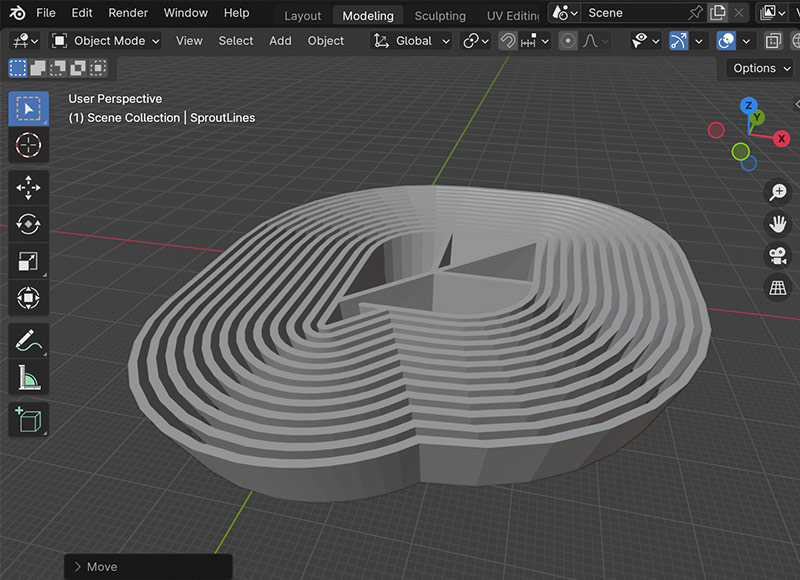
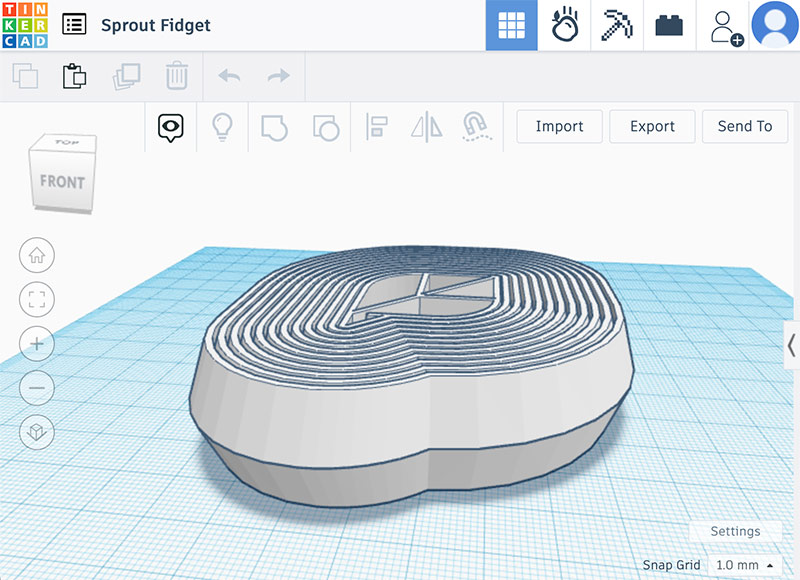
Since I had the SVG imported into Tinkercad already, I gave it a 10mm height, then exported that 3D shape as an STL file. I opened the STL file in Blender, selected all of the points that made up the top surface of the model and scaled those up to make a bowl shape.
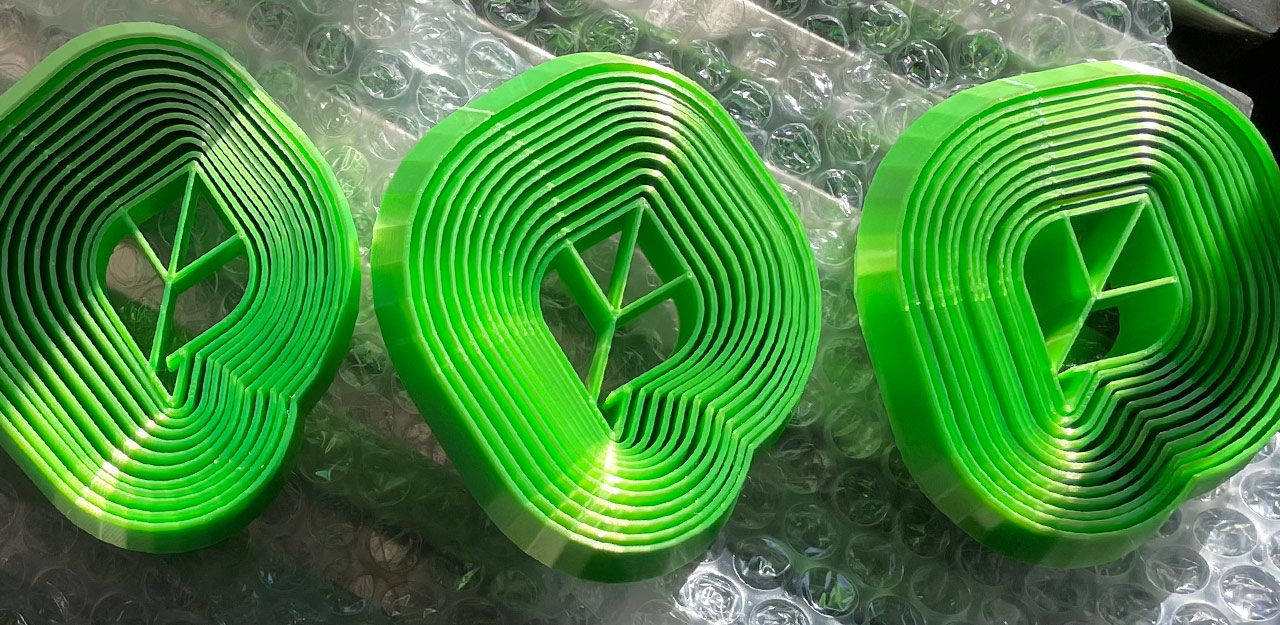
Then, I brought that new, beveled model back over to Tinkercad, duplicated it, flipped the copy over, and stacked it on top to create the profile I was looking for. I assumed it would take a few iterations to get the spacing right, but I printed a proof of concept in black PLA filament and it turned out great! I ordered a spool of shiny green silk PLA for the prints that I sent my teammates and managed to get them all mailed out by Christmas.
Because the design includes a wholly unsanctioned application of Sprout Social’s logo, I won’t be sharing this on Thingiverse. I do believe, however, that anyone with a 3D printer could apply this technique to make a nested fidget toy out of just about any logo or vector shape. If you end up giving it a try, please reach out or drop a comment here. I’d love to see what you create!
Thanks for sharing!! I couldn’t quite picture it in my head when you talked about it but I knew it would be cool. It turned out great!